If you are looking for a typeface that brings a warm, storybook feel to your projects, the Jennies House Font is a fantastic choice. This handcrafted duo combines a bold, rounded display style with a flowing script, giving you the best of both worlds for playful and cozy designs. Whether you are making nursery decor or birthday invitations, these letterforms provide a cheerful, handmade touch that instantly connects with your audience.
What makes this font duo stand out for crafters?
The magic of this release lies in its versatility. You get two distinct styles in one package. The display portion features chunky, rounded letterforms that feel incredibly friendly and approachable. It is perfect for catching the eye without being overly aggressive. On the other hand, the accompanying script brings an elegant, personal touch that mimics natural handwriting.
When browsing through different dedicated display fonts page options, you will notice how this specific duo balances whimsy with readability. While a varsity style lettering works great for sports themes and bold statements, this collection leans much more into cozy family moments and soft aesthetics. It is definitely not a rustic cowboy aesthetic, but rather something much softer, sweeter, and more inviting for younger audiences.
Furthermore, the clean edges mean you do not have to worry about the messy overlap that sometimes happens with a classic distressed look. If you enjoy a sweet milkshake vibe in your retro designs, you will find similar joyful energy here, but tailored specifically for children and family-oriented themes.
Where should you use these playful letterforms?
Because of its heartwarming personality, this typeface fits perfectly into projects that require a gentle, happy touch. Print-on-demand sellers and small business owners can use it to create products that feel deeply personal. Here are some of the best ways to apply these styles:
- Children’s Apparel and Accessories: Use the bold display text for cute slogans on toddler t-shirts, tote bags, or baby bibs.
- Classroom Materials: The highly legible rounded letters are excellent for educational posters, name tags, and reading corner signs.
- Baby Shower and Birthday Invitations: Pair the script for the parents' names or event details with the chunky display for the main heading.
- Nursery Wall Art: Create inspirational quotes or alphabet prints that look like they belong in a classic storybook.
- Greeting Cards: Add a handmade feel to thank you notes, holiday cards, and milestone celebrations.
How do you pair the display and script styles effectively?
Mixing two different styles in a single design can sometimes feel cluttered if you are not careful. The key is to establish a clear visual hierarchy. Let the bold, rounded display font do the heavy lifting for your main headlines or primary messages. It grabs attention and sets the playful tone.
Then, use the flowing script for secondary elements. This could be a short subtitle, a decorative flourish, or a personal sign-off at the bottom of an invitation. By keeping the script usage minimal, you maintain its elegant, handwritten charm without sacrificing readability. Always ensure there is enough contrast in size between the two styles so the design breathes properly.
What technical details should you keep in mind?
Before you start your next project, it is always a good idea to check the licensing terms, especially if you are selling physical products or digital templates. Most handcrafted fonts on Creative Fabrica come with commercial use included, but verifying the specific file formats ensures you have the right tools for your software. Make sure your design program supports OpenType features if you want to access any extra swashes or alternates included in the script.
Quick Checklist for Your Next Design:
- Choose the bold display font for your main headline to ensure it stands out.
- Add the script font only for small accents, like a date or a short personal note.
- Keep the background simple and soft, like pastel colors or subtle paper textures, to let the friendly letterforms shine.
- Test your design in black and white first to confirm the contrast and hierarchy work perfectly before adding color.
Pro tip: When saving your final files for physical printing, always convert your text to outlines or paths to prevent any unexpected font substitution issues at the print shop.
Explore Design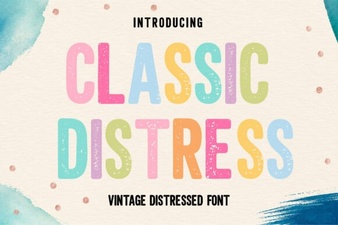 Create Vintage Designs with a Classic Distress Font
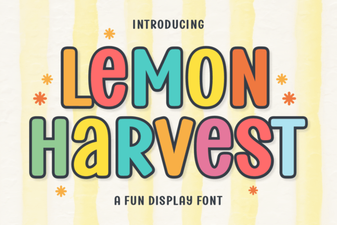 Lemon Harvest Font for Rustic Bakery Branding
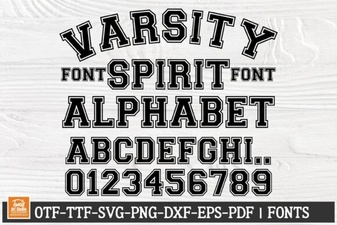 Varsity Spirit Font: Creative Sports Branding Ideas
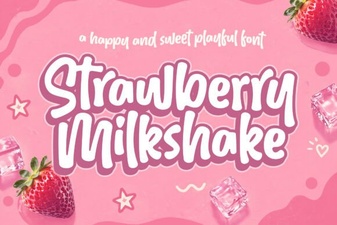 Sweeten Your Designs with Strawberry Milkshake Font
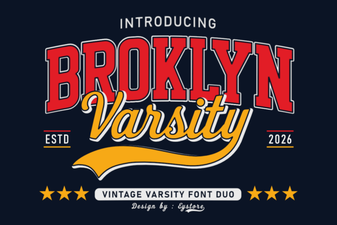 Broklyn Varsity Font: Creative Design Ideas
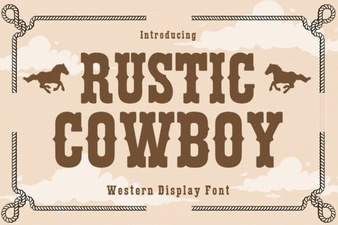 Designing Western Brands with a Rustic Cowboy Font